
How to Choose Striping Removal Equipment in 2026?
Choosing Striping Removal Equipment in 2026 is not just a horsepower decision. It is a choice about surface condition, removal method, production rate, and the pavement left behind. A scarifier may clear thick thermoplastic quickly, while grinding or water-based systems may suit different markings and surfaces. The wrong match can leave uneven grooves, damage asphalt, or create costly rework. Those details matter on a real job.
Safety makes the decision more consequential. NHTSA’s 2022 Traffic Safety Facts reported 42,514 U.S. traffic fatalities that year. That figure is not evidence that removal equipment changes crash outcomes. It does, however, underline why agencies need clear, maintainable markings and careful work-zone planning. FHWA’s 11th Edition MUTCD, published in 2023, provides guidance on maintaining traffic control devices, including pavement markings. FHWA’s Pavement Marking Handbook offers practical technical context for marking materials and application.
In this guide, we compare equipment by removal performance, surface impact, dust or water management, operator visibility, and lifecycle cost. We also consider daily realities: a narrow urban lane, cured paint, loose debris, and limited space for support vehicles. Manufacturer specifications are useful, but they are not field trials. That distinction is easy to overlook. No single machine is best for every crew or pavement; even a careful shortlist may need adjustment after a test section. The goal is a defensible choice, supported by site conditions and credible technical references.
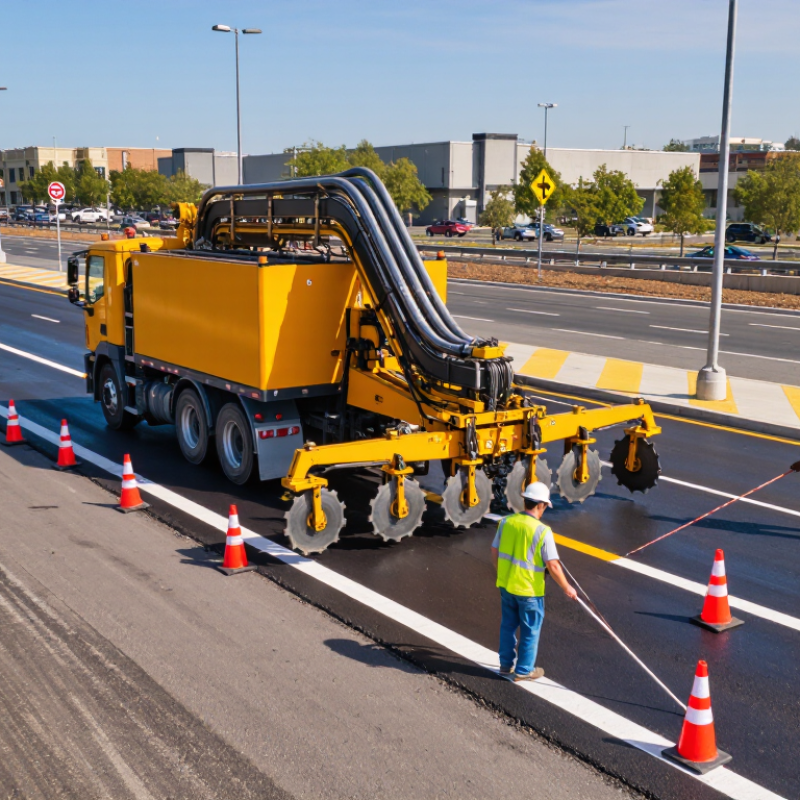
Identify the Marking: Paint, Thermoplastic, Epoxy, or Pavement Marking Tape
How to Choose Striping Removal Equipment in 2026?
Identify the Marking: Paint, Thermoplastic, Epoxy, or Pavement Marking Tape
Start by identifying the marking and checking the pavement beneath it. Paint is often thinner and may respond to controlled water blasting or light grinding. Watch for feathered edges, paint layers, and loose aggregate. A method that removes paint quickly can still scar soft asphalt.
Thermoplastic is thicker and may need heat-assisted removal or mechanical grinding. Epoxy can be especially hard and firmly bonded, so heavier grinding may be necessary. Use equipment with adjustable pressure or cutting depth where possible. Too much force can gouge the pavement. It happens faster than expected.
Pavement marking tape usually has a visible film and adhesive beneath it. Scraping or specialized lifting equipment may work, but residue can remain and collect dust. Test a small area first. Small test areas matter. Check how the surface looks after removal, not only how fast the stripe disappears. Damp pavement, old repairs, and multiple marking layers can change the result. I would not choose equipment based on the marking name alone; a brief site inspection often reveals the better approach.

Match Removal Technology to Pavement: Grinding, Blasting, Water, or Laser
How to Choose Striping Removal Equipment in 2026?
Choosing removal equipment starts with the pavement, not the machine. Asphalt and concrete respond differently, and old coatings can hide weak patches. Grinding gives operators close control over durable markings, but aggressive passes may scar asphalt or expose aggregate. Watch the dust.
Abrasive blasting can remove stubborn material and leave a textured surface, which may help prepare concrete for new markings. On softer or deteriorated pavement, however, it can remove too much material. Water-based removal limits airborne dust and can suit sensitive locations, but the resulting slurry needs careful collection. Not always simple. Laser systems remove markings with concentrated heat and can reduce mechanical contact, though removal speed depends on coating thickness and pavement condition. Fume control and trained operation matter.
Before choosing, identify the pavement, marking type, coating thickness, and required finish. Check nearby joints, drainage, and damaged areas. A small test patch can reveal scarring, residue, or uneven removal before the full job begins. Compare cleanup time as well as removal speed; the fastest pass may leave the slowest cleanup. I would still question any estimate made without seeing the surface. Reassess after the test, then match the method to the pavement and the condition it can safely tolerate.
Size the Machine for MUTCD’s Standard 4–6-Inch Line Markings
When choosing striping removal equipment in 2026, start with the marking width, not the machine’s advertised production rate. MUTCD applications commonly use 4-inch lines, with 6-inch lines used where specified. Check the current project plans and agency requirements before selecting a removal head. A head that is too wide can scar pavement beside a 4-inch line; one that is too narrow may leave visible edges on a 6-inch line. Small differences matter.
Match the working width to the line, then consider how precisely the machine tracks curves, intersections, and worn markings. On a straight test section, measure the removed path and inspect the surface in daylight. Keep enough control to adjust pressure or speed when pavement texture changes. That sounds simple, but it rarely is. A compact unit may suit short urban segments, while longer corridors can justify wider capacity if it remains accurate. Ask for a demonstration on comparable pavement, and check dust collection, visibility, and cleanup needs. The right size is the one that removes the marking cleanly without taking extra pavement with it. Sometimes, smaller is safer.
Plan Dust Controls to Meet OSHA’s 50 μg/m³ Silica Exposure Limit
How to Choose Striping Removal Equipment in 2026?
Plan Dust Controls to Meet OSHA’s 50 μg/m³ Silica Exposure Limit
Choosing striping-removal equipment means considering dust control alongside cutting speed. Grinders and scarifiers can release respirable crystalline silica when they disturb concrete. OSHA’s permissible exposure limit is 50 μg/m³ as an eight-hour time-weighted average; the action level is 25 μg/m³. Actual exposure varies with the surface, coating, tool, and work rate. Asphalt and concrete are not interchangeable.
Check whether equipment accepts a close-fitting shroud and compatible dust collector, or allows controlled water delivery where appropriate. A HEPA-filtered extractor, sealed hose connections, and regular filter checks help capture dust. Keep the shroud close to the surface. Small gaps matter. Confirm performance under actual cutting conditions; a clean shop test may not reflect a windy roadside shift. A built-in vacuum alone does not prove exposure is controlled.
Before work, identify the substrate and review OSHA’s applicable silica requirements and control options. Use exposure assessment or an applicable OSHA control method to verify that controls suit the task. When uncertainty remains, seek qualified industrial hygiene support. Train operators to inspect hoses, filters, water flow, and seals. Respirators may be needed if other controls are insufficient, under a compliant respiratory-protection program. The trade-off is real: slower passes may reduce dust, but tight schedules can encourage rushing. Plan for that pressure.
Check Surface Damage, Residue, and Recoating Readiness Before Reopening the Road
Choosing striping-removal equipment is not just a speed decision. The surface must survive removal and accept new markings. NCHRP Report 759, Effective Removal of Pavement Markings (2013), documents trade-offs between removal effectiveness and pavement damage. Match the method to the pavement: aggressive grinding may scar thin asphalt, while water-based removal can leave moisture that delays recoating. Inspect the exposed surface in raking light. Look for gouges, polished areas, loose aggregate, and faint marking residue.
Check readiness before reopening the lane. Sweep and dry the area, then inspect several points along the removed line, including joints and wheel paths. Residue can reduce bonding, even when the pavement looks clean. For a cautious check, apply a small trial patch and verify adhesion after curing under the coating maker’s stated conditions. Record the method, visible damage, and weather. This takes time. It is easy to rush.
Tips: Photograph the surface before and after removal. Use a straightedge to spot grooves, and a clean cloth to detect dust or residue. If the surface stays damp, shows exposed aggregate, or feels unusually smooth, pause recoating and reassess the equipment setting. I would not treat appearance alone as proof of readiness.
How to Choose Striping Removal Equipment in 2026
Compare surface protection, residue control, and recoating readiness before reopening the road.
How to read this: Ratings are qualitative planning guidance, not standardized test results (1 = less favorable; 5 = more favorable). Actual outcomes depend on the pavement, marking, equipment setup, and site conditions. Inspect for surface damage and remaining residue, and confirm the pavement is suitable for the specified coating before reopening.
