
How to Choose the Best Sewer Cameras?
Choosing the best Sewer Cameras begins with understanding the inspection environment, not chasing the highest resolution.
A residential drain may contain grease, roots, standing water, or collapsed pipe sections. Narrow lines need flexible push cables. Larger commercial systems may require stronger reels and longer reach. The right camera should match pipe diameter, access points, bends, and expected inspection distance.
Roger Wakefield, a licensed plumber and plumbing educator, explains, “A sewer camera can show the problem before the shovel goes into the ground.” That principle remains practical. A clear video can reveal cracks, offsets, blockages, corrosion, and root intrusion before expensive excavation begins.
Look for a waterproof camera head, adjustable lighting, a self-leveling lens, and a reliable recording system. A built-in sonde also helps technicians locate defects beneath floors, driveways, or landscaped areas. Small details matter. Poor lighting can hide a broken joint. Weak cable control can make a camera difficult to guide.
Resolution is important, but it is not everything. A skilled operator still needs experience reading shadows, water movement, and pipe deformation. Equipment alone cannot guarantee an accurate diagnosis. This is easy to overlook.
Consider service support, warranty coverage, battery life, cable durability, and compatibility with inspection software. Ask whether the system records usable footage and displays distance markings. Confirm the camera’s real working range, not only its advertised maximum.
The best choice may not be the most expensive model. It should provide dependable images, accurate locating, and practical control in real conditions. Even then, every inspection has limits. Heavy water, severe blockage, or restricted access can reduce certainty. Honest reporting matters as much as impressive equipment.
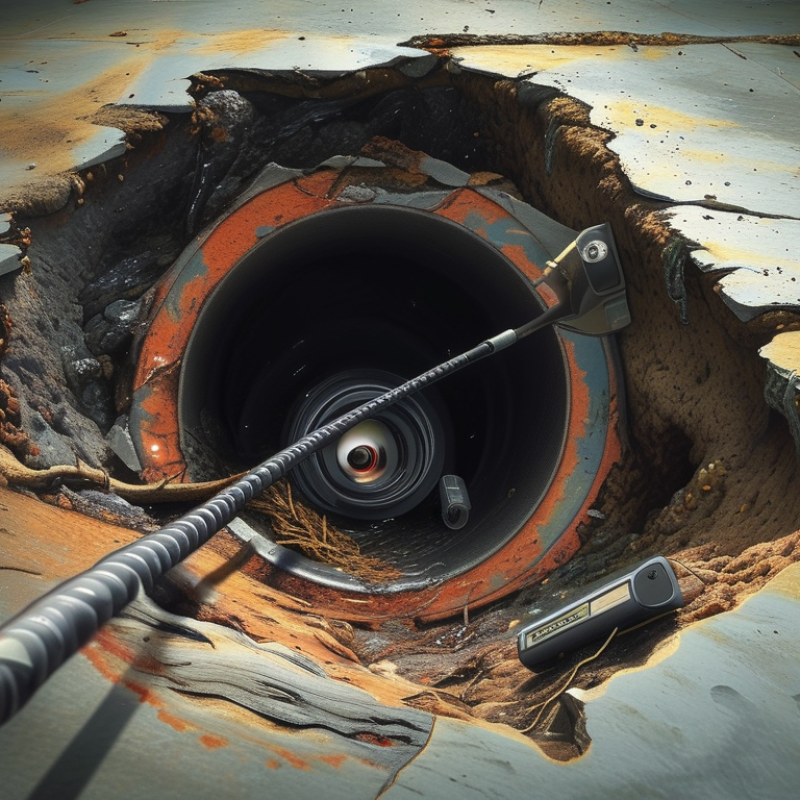
Define the Job and Sewer Conditions
Before choosing a sewer camera, define the job clearly. A blockage search needs speed and visibility. A condition assessment needs detailed recording of cracks, joints, roots, corrosion, and infiltration. A pre-purchase inspection may require smaller lateral lines and tighter access points. The pipe’s diameter, length, material, age, and number of bends also matter. EPA’s 2022 Clean Watersheds Needs Survey estimated $630.1 billion in United States wastewater infrastructure needs over 20 years. That figure shows why vague inspections can become expensive mistakes.
Sewer conditions control camera performance. Heavy grease can blur the lens. Standing water can hide defects. Sediment may stop a crawler before it reaches the target. Roots can restrict movement and distort measurements. Choose a push camera for short, accessible lines. Use a self-propelled crawler for longer mains and structured condition surveys. Sonar can add useful information when water prevents a clear visual inspection. NASSCO’s PACP system supports standardized defect coding, which improves communication between inspectors, engineers, and contractors. Still, coding is not judgment. I have seen clean-looking footage miss problems above the waterline.
Tips: Record pipe diameter, direction, distance, flow level, and access conditions. Clean the line when deposits hide the walls. Use a locating transmitter when excavation or repair planning may follow. Capture the defect from more than one angle. The ASCE 2021 Infrastructure Report Card gave U.S. wastewater infrastructure a D+ grade, so small inspection details deserve serious attention. A camera cannot inspect what it cannot reach.

How to Choose the Best Sewer Cameras: Define the Job and Sewer Conditions
Camera selection should match the pipe size and the expected inspection distance. Small residential laterals commonly require compact camera heads and 30–60 m push rods, while municipal mains usually need larger self-leveling cameras, stronger lighting, and inspection reaches of 120–180 m. Water, sediment, grease, and reduced visibility should also be considered before choosing the camera system.
Compare Camera Types, Sizes, and Viewing Capabilities
How to Choose the Best Sewer Cameras?
Compare Camera Types, Sizes, and Viewing Capabilities
Choosing the best sewer camera starts with matching the equipment to the pipe, not selecting the sharpest screen. A push camera suits residential lines and shorter inspections. Its flexible cable can pass bends, but excessive force may damage the camera head. For long, deep, or commercial runs, a self-propelled crawler provides steadier movement and stronger traction. That choice costs more.
Camera size matters. A small 20-millimeter head can inspect narrow household drains, although its image may be less stable. Medium-sized heads often balance lighting, durability, and access. Large pipes need wider lenses and stronger illumination. Otherwise, the far wall disappears into darkness. Not every pipe cooperates. A rotating or adjustable head helps inspect joints, offsets, and side connections. A fixed head is simpler, but it may miss an opening completely.
Useful viewing features include a bright monitor, adjustable LEDs, distance tracking, and dependable video recording. A built-in sonde can locate the camera above ground, especially beneath floors or paved areas. Check image quality when the lens is wet, scratched, or covered with sediment. Specifications may look excellent on a clean test pipe. Real drains are not clean. I have learned that sample footage can be misleading without similar pipe conditions. Ask about operator training, inspection reports, replaceable cables, and serviceable parts before making a decision.
How to Choose the Best Sewer Cameras? - Compare Camera Types, Sizes, and Viewing Capabilities
| Camera Type | Typical Push Cable or Head Size | Recommended Pipe Diameter | Viewing Capability | Locating and Inspection Features | Main Advantages | Limitations | Best For |
|---|---|---|---|---|---|---|---|
| Micro Push Camera | Approximately 6–12 mm camera head; flexible push cable generally 20–40 m | About 25–75 mm | Forward-facing view; compact lens and LED lighting; usually fixed viewing direction | Basic video recording; some systems include a small transmitter for sonde locating | Fits very small drains and tight bends; lightweight; quick to deploy | Shorter range; limited light output and image detail; not suitable for large, heavily obstructed lines | Small residential drains, appliance connections, and narrow branches |
| Standard Push Camera | Approximately 18–30 mm camera head; push cable commonly 30–60 m | About 50–150 mm | Forward-facing color camera with adjustable LED illumination; wide-angle lenses are common | Video recording, distance counter, and optional sonde for locating the camera underground | Portable; relatively affordable; effective for routine inspections and moderate distances | Requires manual pushing; performance can be reduced by standing water, grease, roots, or sharp offsets | House drains, branch lines, and general maintenance inspections |
| Self-Leveling Push Camera | Approximately 23–40 mm camera head; push cable commonly 40–90 m | About 75–250 mm | Self-leveling lens keeps the image upright; improved view of pipe walls, joints, and defects | Distance measurement, video capture, sonde locating, and often an on-screen microphone or text overlay | Produces easier-to-read inspection footage; useful for documenting structural conditions | Higher cost and larger head than basic push cameras; may have difficulty in very small pipes | Professional residential, commercial, and municipal lateral inspections |
| Pan-and-Tilt Camera | Approximately 38–80 mm camera head; cable length often 60–120 m | About 100–600 mm | Remote horizontal panning and vertical tilting; typically includes zoom and high-intensity lighting | Accurate distance tracking, sonde locating, image or video recording, and detailed defect assessment | Views multiple directions without moving the vehicle; examines connections, joints, and sidewall defects in detail | Larger equipment; requires more operating skill and adequate access space; less suitable for very tight bends | Detailed commercial, industrial, and larger municipal pipe inspections |
| Crawler Camera | Camera and crawler body commonly 100–250 mm wide; tether length often 100–300 m | About 150–1500 mm, depending on crawler configuration | High-resolution forward view; many systems provide pan, tilt, zoom, and self-leveling functions | Powered travel, distance counter, sonde locating, on-screen text, video recording, and inspection reporting | Covers long distances with less manual cable pushing; performs well in large-diameter lines | Needs a suitable access point and relatively clear pipe; expensive, heavy, and unsuitable for very small drains | Large commercial, industrial, stormwater, and municipal pipelines |
| Multi-Directional Camera | Commonly 40–100 mm camera head; cable length varies by system | About 150–1000 mm | Multiple cameras or pan-and-tilt movement provide forward, rear, and side views | Detailed recording, distance tracking, locating functions, and comprehensive connection or defect documentation | Provides broader coverage of the pipe interior and reduces blind spots during complex inspections | More complex controls; higher purchase and maintenance costs; requires trained operators | High-value assets, complex networks, and inspections requiring extensive documentation |
| Floating Camera System | Compact camera body mounted on a float; tether length commonly 50–300 m | Generally 300–2000 mm or larger | Forward-facing or pan-and-tilt camera; designed to inspect while floating with the flow or controlled water movement | Video recording, distance measurement, and optional locating capability; access and flow conditions must be managed | Useful where a wheeled crawler cannot travel; can inspect long, large-diameter lines | Image stability depends on water flow; cannot normally inspect dry pipes or negotiate every obstruction | Large sewers, submerged sections, and pipelines with suitable controlled flow |
Selection note: Choose a camera head that fits the smallest pipe section, a cable length that exceeds the expected inspection distance, and lighting or pan-and-tilt capability appropriate to the pipe diameter and condition.
Evaluate Image Quality, Mobility, and Recording Features
How to Choose the Best Sewer Cameras?
Image quality, mobility, and recording features determine whether an inspection supports a reliable repair decision. The U.S. EPA’s 2022 Clean Watersheds Needs Survey identifies approximately $630.1 billion in wastewater infrastructure needs over 20 years. That pressure makes accurate visual evidence increasingly important. A clear camera should reveal cracks, root intrusion, joint separation, and standing water without excessive glare. Check performance in dark, wet pipes, not only in clean demonstration sections. High-definition video helps, but lighting control matters just as much.
Mobility must match the pipe environment. A flexible push rod can navigate household laterals, while a crawler suits longer or larger lines. Strong wheels, stable traction, and a self-leveling camera reduce distorted views. In field use, I would test the system around tight bends and muddy deposits. A perfect image is useless if the camera cannot reach the defect.
Recording features also deserve careful attention. Select systems with clear timestamps, distance counters, still-image capture, and easily exported files. The recording should connect each defect to its location. ASCE’s 2021 Infrastructure Report Card rated U.S. wastewater infrastructure D+, showing why weak documentation can create costly uncertainty.
Tips: Test low-light footage before purchasing. Confirm cable length and push-rod recovery. Save original files, not compressed clips. Review one inspection with another technician; disagreement can expose blind spots. A sharp picture can still mislead.
Check Durability, Compatibility, and Ease of Use
How to Choose the Best Sewer Cameras?
Durability should match the working environment, not just the product description. Inspect the camera head, push cable, connector, and housing for strong construction. A sealed camera helps prevent water damage during routine inspections. Check the stated water-resistance level and operating temperature. Small details matter. The cable should bend smoothly without sharp kinks. A stiff cable may slow an inspection and increase fatigue. In field work, dirt, gravel, and repeated pulling can expose weak components quickly.
Compatibility affects both image quality and inspection speed. Measure the smallest pipe diameter you regularly inspect. A large camera head may fail in narrow household drains. Confirm that the cable length fits your typical jobs without excessive coiling. Also check connector types, recording formats, lighting control, and locator compatibility. Do not guess. A camera can produce a clear picture yet remain unsuitable for your existing equipment. Asking for written specifications is more reliable than trusting vague sales language.
Ease of use becomes important after several hours underground. Look for a bright monitor, simple controls, stable image display, and an easy recording process. Gloves and wet hands make tiny buttons frustrating. A built-in distance counter can help document blockage locations, but accuracy still needs checking. Test the camera on a short pipe section before relying on it professionally. I have found that even capable equipment can feel awkward when the cable drag is ignored. A practical trial may reveal problems that specifications never mention.
Balance Performance, Reliability, and Total Cost
How to Choose the Best Sewer Cameras?
Choosing a sewer camera is not about buying the sharpest image. It is about matching performance with daily inspection conditions. A clear monitor helps, but a strong push cable matters more in long, rough lines. Check the camera head diameter, viewing angle, lighting, and recording quality. A flexible cable can pass bends, while a rigid one may reach farther. It depends on the job.
Reliability becomes visible during difficult inspections. Look for waterproof construction, impact protection, stable connectors, and a proven locator system. Ask how easily the camera head, cable, or screen can be repaired. Warranty length matters, but service response matters more. I once trusted impressive specifications and ignored cable handling. That mistake created unnecessary downtime. Field experience can challenge a perfect product sheet.
Total cost includes more than the purchase price. Consider transport, batteries, training, repairs, storage, and replacement parts. A cheaper unit may become expensive after repeated cable damage. A premium system may also be excessive for occasional residential checks. Compare expected inspections per month with the equipment’s working range. Request practical demonstrations, not only sales figures. Test image quality in standing water, dark pipes, and tight bends. Real conditions reveal weaknesses. Leave room for uncertainty. No camera performs perfectly in every pipe.
